How to Stain a Fence: A Complete Guide for Long-Lasting Protection and Professional Results
Staining a fence is one of the most effective ways to protect it from the elements while improving its appearance. Whether your goal is to extend the life of the wood or simply refresh its look, the process requires more than just applying stain. Proper preparation, the right materials, and careful application all play a role in achieving a clean, even finish.
This guide walks you through exactly how to stain a fence step by step, along with practical tips to help you avoid common mistakes and get results that last.
Why Staining Your Fence Matters
Wood fences are constantly exposed to sunlight, moisture, and temperature changes. Over time, this exposure can lead to fading, cracking, and even rot if the wood is not properly protected.
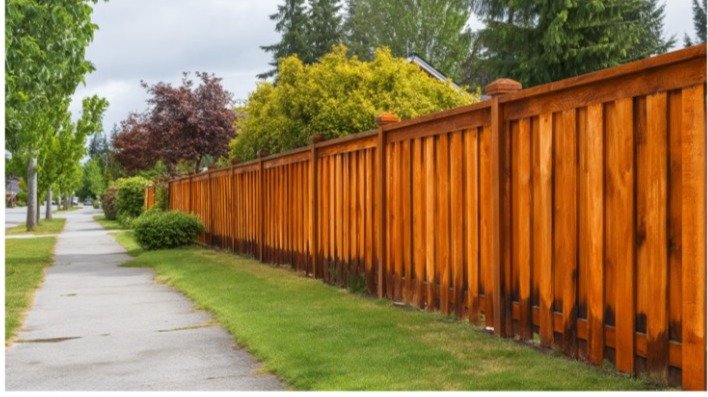
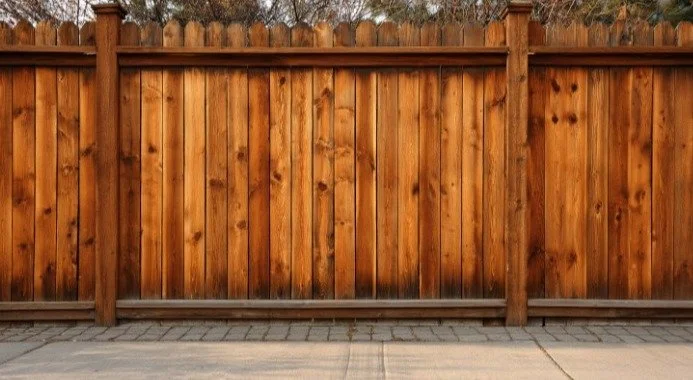
Staining helps seal the wood, protecting it from water penetration and UV damage. It also enhances the natural grain and color, improving the overall look of your property. Beyond aesthetics, regular staining helps extend the lifespan of your fence and reduces the need for costly repairs.
What You Need to Stain a Fence
Tools and Equipment
You do not need complicated equipment to stain a fence, but having the right tools makes the process smoother. Common tools include brushes, rollers, or sprayers, along with a bucket, drop cloths, and protective gear like gloves and eye protection.
Each tool has its advantages. Brushes offer more control, rollers cover large areas quickly, and sprayers provide the fastest application when used correctly.
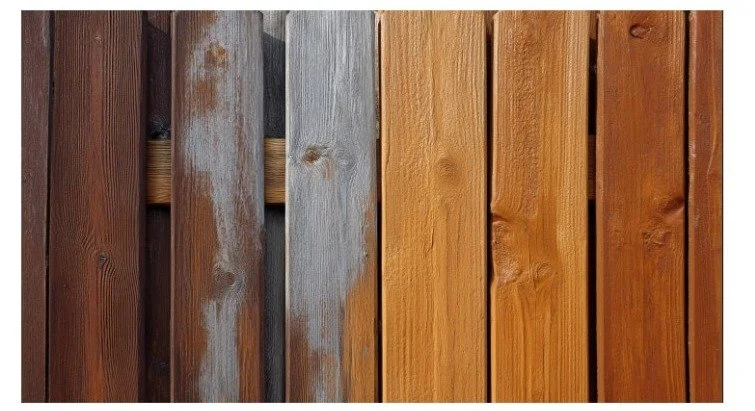
Choosing the Right Stain
Selecting the right stain is just as important as the application process. Oil-based stains tend to penetrate deeper and offer strong protection, while water-based stains dry faster and are easier to clean up.
You will also need to choose between transparent, semi-transparent, and solid stains. Transparent stains highlight the natural wood grain, while solid stains provide more coverage and hide imperfections. The right choice depends on the condition of your fence and the look you want to achieve.
Preparing Your Fence Before Staining
Clean the Fence Thoroughly
Preparation is one of the most important steps in the process. Dirt, mildew, and debris can prevent the stain from adhering properly.
You can clean the fence using a hose, a scrub brush, or a pressure washer on a low setting. The goal is to remove any buildup without damaging the wood.
Let the Wood Dry Completely
After cleaning, the fence must be allowed to dry completely before applying stain. Moisture trapped in the wood can lead to uneven absorption and poor results.
Depending on weather conditions, drying may take 24 to 48 hours. It is important to be patient during this step, as rushing can affect the final finish.
Repair Any Damage
Before staining, inspect the fence for any damage. Replace broken boards, tighten loose fasteners, and address any areas that may compromise the structure.
If your fence has significant wear or structural issues beyond simple repairs, working with professionals like Inline Security Fence can help determine whether reinforcement or replacement is needed before staining.
Step-by-Step: How to Stain a Fence Properly
Step 1 – Protect Surrounding Areas
Before you begin staining, cover nearby plants, grass, and surfaces to prevent accidental staining. This is especially important when using a sprayer, as overspray can spread quickly.
Step 2 – Apply the Stain Evenly
Apply the stain using your preferred method, working in manageable sections. Start at the top of the fence and move downward to prevent drips from affecting finished areas.
Consistency is key. Apply an even coat without overloading the surface.
Step 3 – Maintain a Wet Edge
To avoid visible lines or uneven coloring, maintain a wet edge as you work. This means overlapping each section slightly before it dries.
Working in small sections helps ensure a smooth, uniform finish.
Step 4 – Back Brush for Better Coverage
Even if you use a sprayer or roller, back brushing is an important step. This helps the stain penetrate deeper into the wood and ensures even coverage across the surface.
Skipping this step can result in uneven absorption and a less durable finish.
Step 5 – Allow Proper Drying Time
After applying the stain, allow it to dry according to the manufacturer’s recommendations. Avoid exposing the fence to moisture during this time.
Proper drying ensures the stain sets correctly and provides long-lasting protection.
Common Mistakes to Avoid
One of the most common mistakes is staining a fence that is still wet or dirty. This can prevent proper adhesion and lead to uneven results.
Applying too much stain is another issue. Excess stain can create a sticky surface and may not absorb properly into the wood.
Working in direct sunlight or extreme heat can also cause the stain to dry too quickly, making it difficult to maintain an even finish.
Finally, skipping preparation steps often leads to poor long-term results. Taking the time to clean and repair the fence makes a noticeable difference.
How Often Should You Stain a Fence?
Most fences should be stained every 2 to 3 years, depending on the type of stain used and environmental conditions.
Fences exposed to strong sunlight or heavy moisture may require more frequent maintenance. Regular inspections can help you determine when it is time to reapply stain.
When Staining Isn’t Enough
Signs Your Fence Needs More Than Stain
In some cases, staining alone will not restore the fence. Signs such as rotting wood, severe warping, or structural instability indicate deeper issues.
If the fence continues to deteriorate despite maintenance, it may be time to consider more extensive repairs or replacement.
When to Call a Professional
When maintenance no longer restores the fence’s appearance or integrity, consulting a company like Fantastic Fence can help you explore repair or replacement options.
Tips to Make Your Fence Stain Last Longer
Regular maintenance is the best way to extend the life of your fence stain. Cleaning the fence periodically helps prevent buildup that can wear down the finish.
Keeping vegetation trimmed away from the fence reduces moisture exposure, while ensuring proper drainage helps prevent water from collecting at the base.
Reapplying stain at the right time, before the wood begins to degrade, helps maintain both protection and appearance.
Conclusion
Learning how to stain a fence properly is a valuable skill that can significantly extend the life of your outdoor structure. With the right preparation, tools, and technique, you can achieve a clean, even finish that protects your fence for years.
The key is to focus on preparation, apply the stain carefully, and stay consistent with maintenance. And when staining is no longer enough, knowing when to seek professional help ensures your fence continues to perform and look its best.