How to Soundproof and Style a Home Studio Like a Pro
Setting up a home studio can be one of the most exciting parts of getting into music or audio work. It’s not just about plugging in gear—it’s about creating a space that feels right and sounds great. Whether it’s for recording, mixing, or simply jamming, having a setup at home adds a personal touch to the creative process.
Once the idea of a home studio takes shape, two key elements should stand out: soundproofing and style. Soundproofing helps keep outside noise at bay, making recordings cleaner. Styling makes the space comfortable, focused, and better suited for long hours of work or practice.
To get the most out of a home studio, it’s worth understanding how to manage both sound and space. A few practical steps can shape a better setup without making things overly complex. The sections below explore what makes a studio functional, inviting, and inspiring.
Understanding Your Space
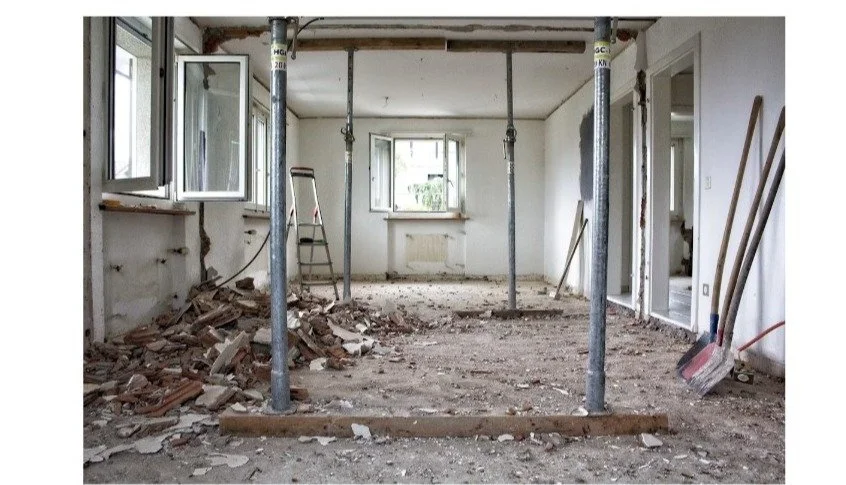
Choosing the right room is the first step. Large, open spaces may create too much echo, while small rooms can feel boxed in and restrictive. Walls, ceilings, and floors all influence how sound travels, so it’s important to get familiar with your space before bringing in equipment.
Across different regions, setup needs can vary. In Los Angeles, some musicians choose garages for the extra space and fewer distractions. In Manchester, a basement might be a better choice due to thick walls and reduced street noise. Meanwhile, buying essential studio gear from a Music store in Newcastle, Australia, can make setup easier—especially when the gear matches the room’s size and acoustics.
It also helps to listen to the room at different times of day. Noise from traffic, neighbours, or plumbing systems can creep into recordings if not addressed early. Keeping notes on when the space is quietest helps in planning recording times and making soundproofing choices based on real-world conditions.
Soundproofing Basics
Every good home studio needs to block out unwanted noise—and that doesn’t always mean spending a fortune. Small improvements can make a noticeable difference. For example, using weatherstrips on doors can help prevent sound leakage, and adding door sweeps seals gaps at the bottom.
Another simple fix is reinforcing windows. Installing thick curtains or double-glazed glass can reduce external noise, such as traffic or barking dogs. Even hanging rugs or heavy blankets on the walls can help cut down harsh sound reflections in a pinch.
Floors are often overlooked, yet they contribute greatly to soundproofing. Hard surfaces like tile or timber can bounce sound around, so placing thick rugs beneath desks and equipment helps absorb excess noise. In multi-storey homes, placing foam or isolation pads under gear can stop vibrations from travelling into other rooms.
To further enhance sound quality and reduce unwanted reflections, many home studio owners install acoustic foam panels on walls or ceilings. These specialized materials are designed to absorb mid-to-high frequency sounds, helping create a cleaner and more controlled recording environment.
Acoustic Treatment
Soundproofing makes a room quieter, but acoustic treatment makes it sound better. This process is all about shaping the sound inside the room so you can hear your mixes accurately. Skipping this step can lead to results that sound good in your studio but are poor elsewhere.
To improve internal acoustics, use tools like foam panels, bass traps, and diffusers. Foam panels reduce echoes in mid and high frequencies, enhancing clarity in vocals and instruments. Bass traps absorb low-end frequencies that tend to build up in corners and muddy your recordings. Diffusers scatter sound evenly across the room, reducing hotspots and dead zones.
Proper placement is more important than the number of panels. Start by positioning panels at ear level on the walls beside and behind your monitors. Add bass traps in all four corners, and take time to assess the difference. Testing and adjusting are part of the process—it’s a gradual refinement, not a one-time setup.
Styling Your Studio
A well-designed studio doesn’t just sound good—it should also feel good to spend time in. A clean, thoughtfully styled space can help you stay focused and enjoy longer sessions. Start with the basics: choose a sturdy desk with enough room for your equipment and clear space to move freely.
Lighting is one of the easiest and most effective ways to enhance both the atmosphere and your workflow. Natural light can help keep your energy up, but if your studio lacks windows, soft LED lights are a great alternative. Pick a colour theme that suits your workflow—something calming, energising, or neutral, depending on your style.
Clutter slows down creativity. Keep things organised with cable clips, drawer dividers, and shelves to give every item its place. Even a compact setup can feel polished if everything is accessible and you’re not wasting time untangling cords or hunting for adaptors.
Balancing Form and Function
Practical choices in layout and design save time and reduce stress. Keep your monitors at ear level and equidistant from your seat to maintain balanced sound. Your keyboard, mouse, and other controls should be positioned within easy reach to prevent strain during long sessions.
You can still add personal touches —just keep them subtle. One or two framed posters, a potted plant, or a whiteboard for jotting down ideas can help make the space feel like your own. The key is to decorate without overcrowding, so the focus stays on making music, not managing mess.
You don’t need to break the bank to get great results. Many excellent studios are built with second-hand furniture, DIY acoustic panels, and affordable gear arranged with purpose. It’s not about copying a professional studio—it’s about creating a space that suits your workflow and keeps you inspired.
Final Words
Building a home studio isn’t just about buying the right gear—it’s about shaping a space that works for you. With effective soundproofing and smart styling, even a simple room can become a powerful creative hub. It’s a mix of comfort, clarity, and intention. Once it’s all set up, it’s your space to enjoy—one track at a time.