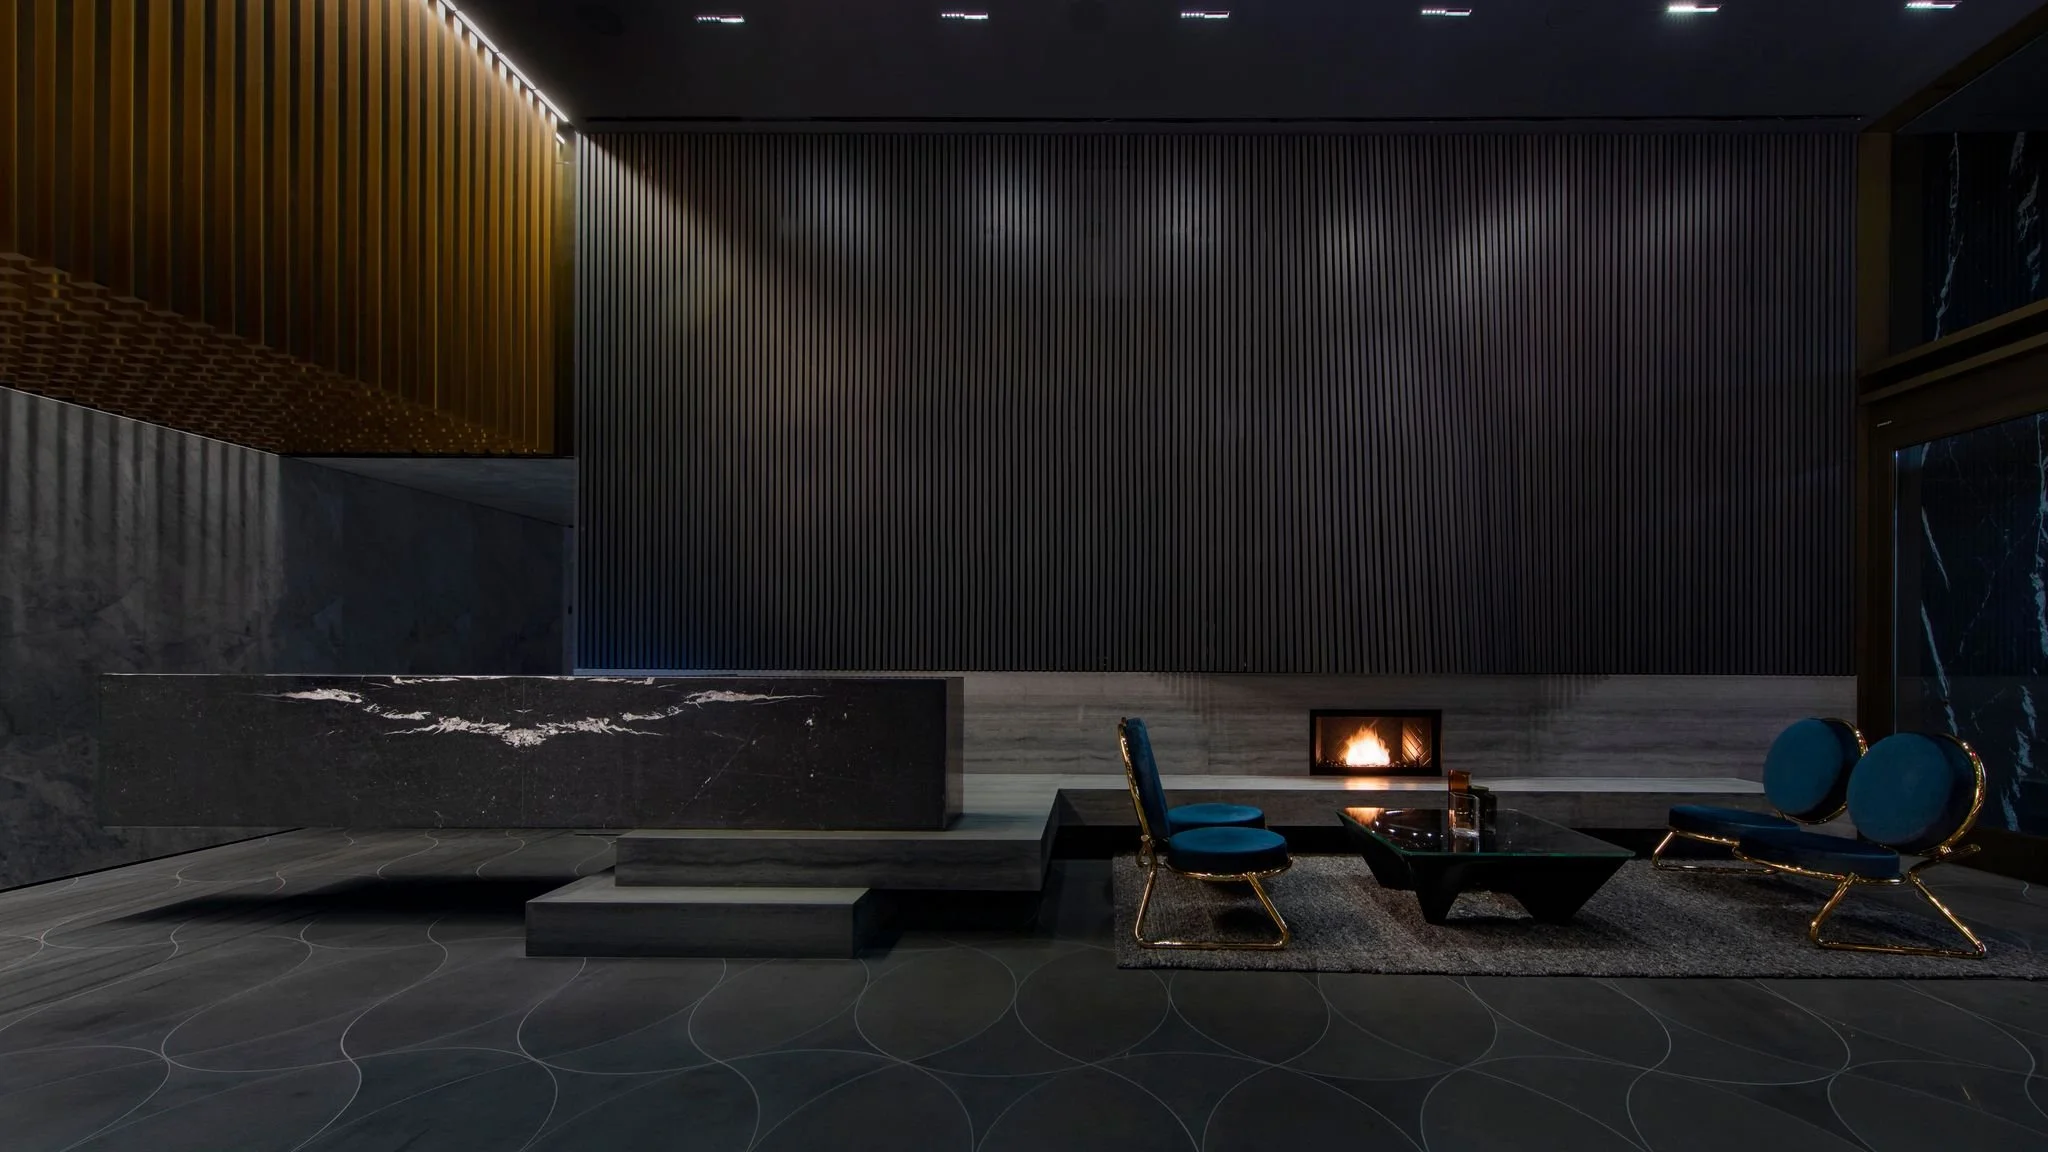
How To Design The Perfect Recording Studio: Here's What You'll Need
Once you have got all of your recording equipment ready to go, the next thing you will need to do is design your recording studio. This is as simple as you might expect as there are several factors to consider as things such as flooring and walls can cause problems for the acoustics of your studio.
Here are 4 things you will need to do to create the perfect recording studio.
1. Use Soundproof Wallpapers
It is unlikely that the space you are using is going to be totally soundproof. Whether you live with friends, family or other people, there will always be noise pollution. One way to reduce the noise in your recording studio is to use soundproof wallpapers and this is one of the most effective and affordable soundproofing methods. There are several designs you can choose from and this adds an element of fun as you can create a unique and stylish recording studio that not only looks the part but is practical too. You can also visit getsoundproofing.com for more tips in making your recording studio a noise free place
2. Use Hard Flooring
The next thing you have to consider is the flooring in your recording studio. Some materials work better than others and can block out more sound, whereas others can let in sound and absorb frequencies that interfere with the quality of your recordings. Ideally, you want to use hard floorings such as tiles, concrete, or hardwood. You should avoid using carpet as it wears out quite quickly. Plus, it can absorb high frequencies and not low ones which negatively impacts acoustics. If you need a carpet because you have a drum kit in the recording studio, then consider putting down a rug instead. This will protect the floor without damaging the acoustics.
The other thing you need to be mindful of is the rooms surrounding your recording studio. For instance, if there is a room above your studio that has a lot of foot traffic then it is likely you will have sound interference from the excessive foot noise. Similarly, if your studio is next to a living room with a TV this can also be an issue. So make sure you are being tactical when deciding what room to use as your studio.
3. Arrange A Workstation
Once you have decided on a room and sorted out soundproofing then it is time to start adding in your gear. Every great recording studio has a workstation and the more professional your station is, the better the quality of your recordings. Typically the desk and chair will be the centerpiece of the room. If you are just starting out it is okay to use average desks and chairs, but if you find you want to dedicate a lot of your time to recording then you should look into getting more sophisticated chairs and desks. This is important because it will affect your posture and comfort. There is no point sitting in an uncomfortable chair for hours on end to then come out with a bad back. Your workstation is your haven, so it is worth investing a little extra money for software and gear, as well as investing time and money into the set-up of your workstation.
4. Arrange A Recording Station
Next up you will have to start planning and arranging a recording station. In the bigger, more professional studios, recording artists have access to multiple rooms that are designed for different sounds and instruments. However, when creating your own studio you are likely to just have one room for everything. So, you will have two stations in your studio, the first being your workstation and the second is your recording station. Make sure there is enough space between the two stations as you want to have the freedom to move around the room without knocking things over and ruining tracks.
5. Consider Your Budget
One of the most important parts of the planning stage is when you set your budget. It is important to establish a realistic budget early on as this will prevent you from overspending. There are going to be several costs along the way but do not let that put you off as there are some affordable options out there. You just need to take the time to scroll through your options and to check out the reviews too. This way you can avoid spending money on something that ends up being useless. It can seem trivial but every penny you save can go towards a different piece of equipment to elevate your recording studio.
So there you have it, the 5 steps you need to follow to help you design and create the perfect recording studio.


